Evolving My 360 Photo Post-Processing with Topaz Photo AI
I use the Kuula platform because I insist on the best visual experience for my virtual tour viewers. I'm always on the lookout for tools that can aid in achieving that goal. Last year, I shared my enthusiasm for Topaz Labs' DeNoise AI and Gigapixel AI, two remarkable tools that transformed my 360 photos from "impressive" to "immersive." Today, I'm excited to introduce you to a game-changer in my post-processing workflow: Topaz Photo AI.
When Photo AI was initially released, I was intrigued. It promised to combine the features of Sharpen AI, DeNoise AI, and Gigapixel AI, offering a one-stop solution for photo enhancement. However, my initial tests revealed that it introduced extra artifacts and sometimes over-did the denoising. It felt like the software was still finding its feet, and I wasn't ready to make the switch.
Fast forward to a recent update, and I'm singing a different tune. Photo AI has matured beautifully, addressing its initial shortcomings and emerging as my post-processor of choice.

Why Topaz Photo AI?
Photo AI is not just a merger of its predecessors. It's an intelligent tool that "remembers" real detail from millions of similar images. Just like you can picture how something looks from memory, Photo AI does the same. It fills in missing pixels based on its vast understanding, adding genuine image resolution to photos.
In the realm of 360 photography, where we're constantly stretching and wrapping images around a viewer, this ability to upscale and enhance without introducing noise is invaluable. With Photo AI, the visible portion of your 360 photos is not just upscaled but enriched with realistic detail.
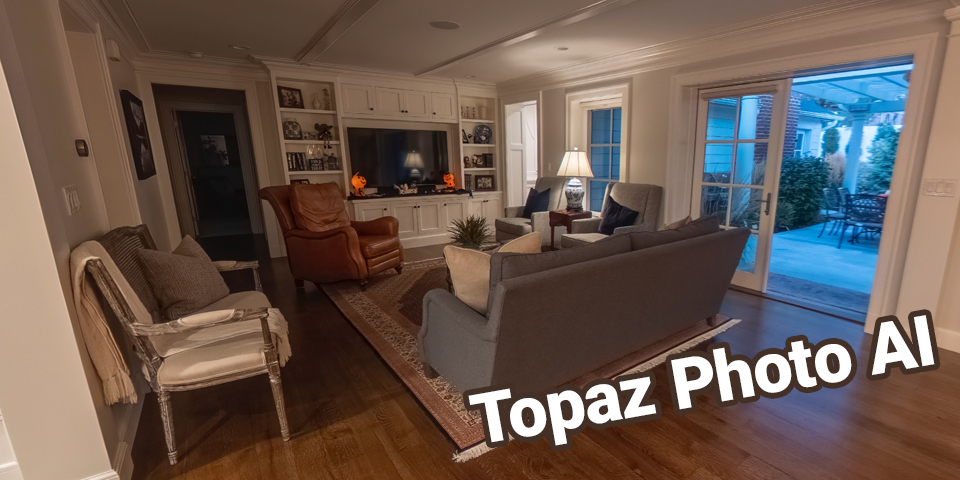
Quality Comparison
Here's the same low-light, noisy, high-detail quality comparison tour I showed last year with the Photo AI enhanced image included.
I think Photo AI is the best of the bunch, and getting there was easier than ever.
My Workflow with Photo AI
Transitioning to Photo AI was seamless. The user interface is intuitive, and the results are consistently impressive. Here's a glimpse into my workflow:
- Initial Edits: As always, I start with color correction and retouching. This ensures that I'm working with the best version of my image from the get-go.
- Photo AI Enhancement: I then run the photo through Photo AI. The software intelligently analyzes the image, deciding what is noise and what is detail. It then enhances the photo, preserving the details while eliminating noise. Generally I've been happy letting Photo AI pick the settings. But sometimes fine tuning is needed. Having an all-in-one solution means I can see at once how adjustments to sharpness, denoising, and up-scaling impact my image.
- Final Checks: I always recommend viewing your images in fullscreen to appreciate the differences. This step is crucial to ensure that the enhancements align with your vision.
Conclusion
While DeNoise AI and Gigapixel AI hold a special place in my toolkit, Topaz Photo AI has streamlined my post-processing. It's efficient, effective, and consistently delivers high-quality results. If you haven't tried it yet, I strongly recommend giving it a shot.
For those keen on exploring further, Topaz Labs offers a free trial of their software. And at the time of this writing (August 2023) it's on sale for $40 off. Dive in and see the magic for yourself!
I also recommend reviewing the Tips section of my previous article for ensuring your enhanced images integrate seamlessly with Kuula!