Shooting 360 Aerial Panoramas With a Drone

360 drone photography isn't just an addition to your virtual tours—it's a game-changer. By integrating aerial panoramas, you highlight the scale, beauty, and context of locations in unparalleled ways, setting your work apart from the competition. However, embarking on drone photography comes with its learning curve, not to mention its regulatory compliance, such as obtaining the Part 107 license in the U.S.
This tutorial aims to demystify the creation of 360 aerial photos, focusing on a simple, quick method for capturing quality shots and stitching them straight from your drone app.
Designed for those eager to expand their virtual tour capabilities, this guide is your first step into a broader world of photography. Look forward to a follow-up article where we'll delve into advanced techniques for even higher quality drone shots.
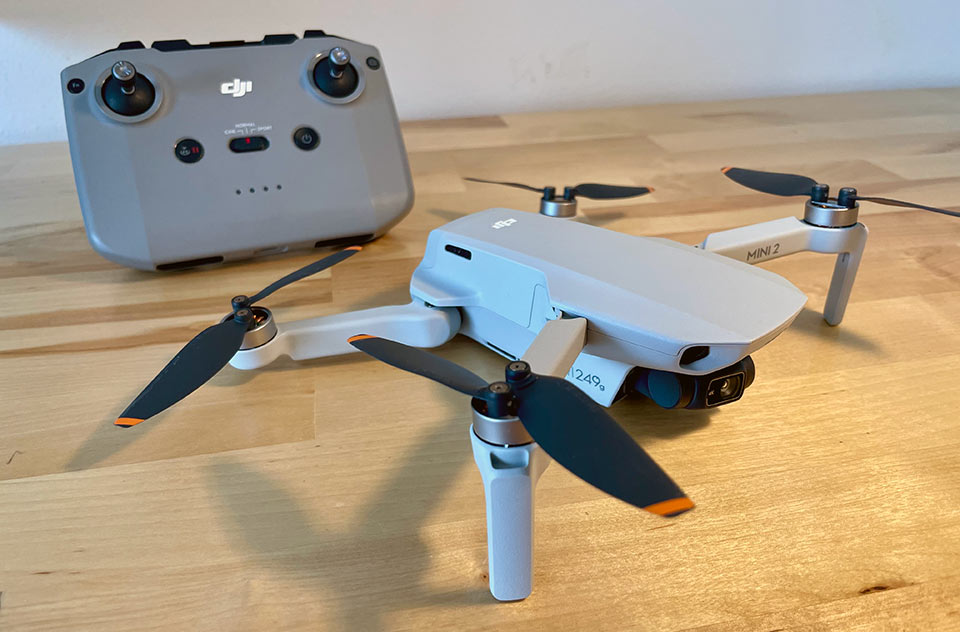
My adventures in aerial photography have been largely with the DJI Mini 2, though the steps detailed here are applicable across DJI's range, laying a solid foundation for all aspiring aerial photographers.
Step-by-Step Guide:
- Pre-flight Preparation: Ensure good weather conditions and a fully charged drone. Stability is key for quality shots, so avoid windy conditions. Also, be mindful of battery life - photography can consume power quickly.
- Setting Up Your Drone: Keep your drone's firmware up to date to access the latest features and enhancements.
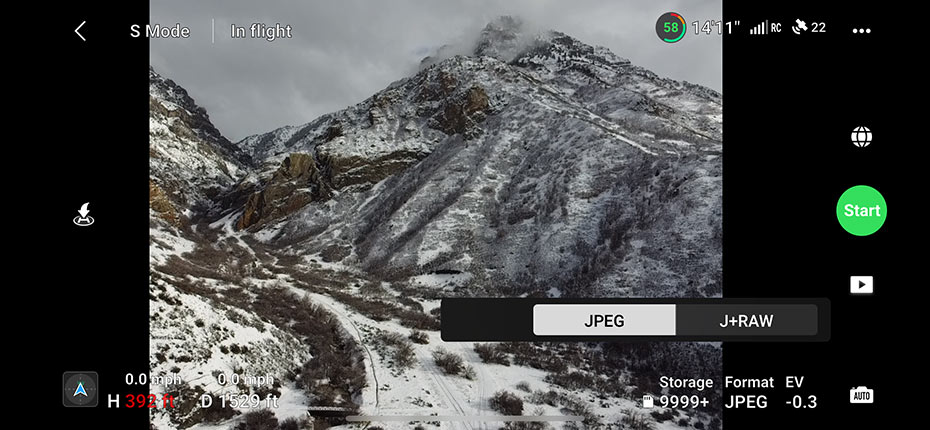
- Choose the Desired Format You can choose to shoot either
jpeg, orjpeg+raw. If you're only planning to let the app do your stitching, you can save shoot time and battery life by selectingjpegonly.
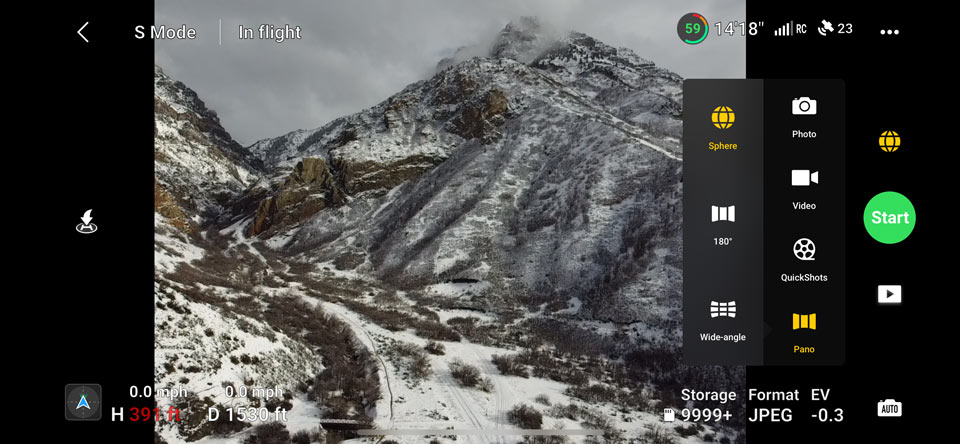
- Selecting the Right Mode: Now select 'Pano' mode from the photo options, then choose 'Sphere' for automatic capture of a full panoramic sequence:
- Capturing the Shot: Launch from a safe, open area. Ensure stability at your desired altitude and initiate the 360 capture. The drone will do the rest, rotating to capture the full panorama.
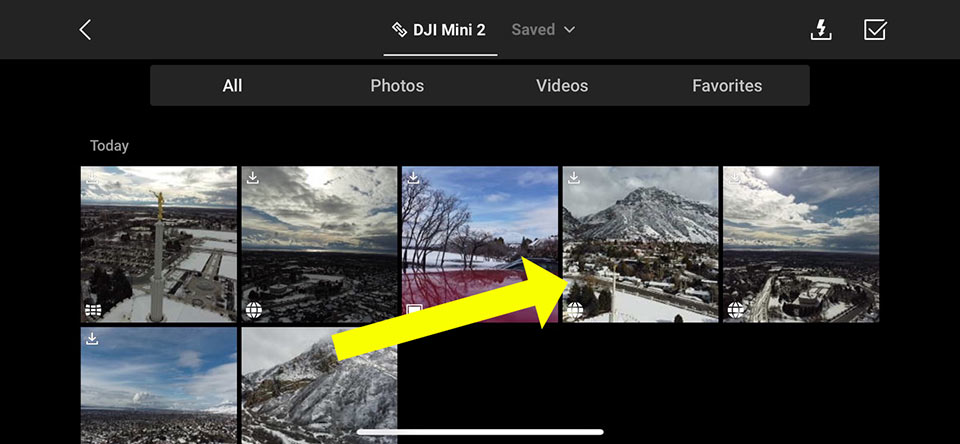
- Stitching Your Panorama: The DJI Fly app can automatically stitch the captured images. First, click on the album button:
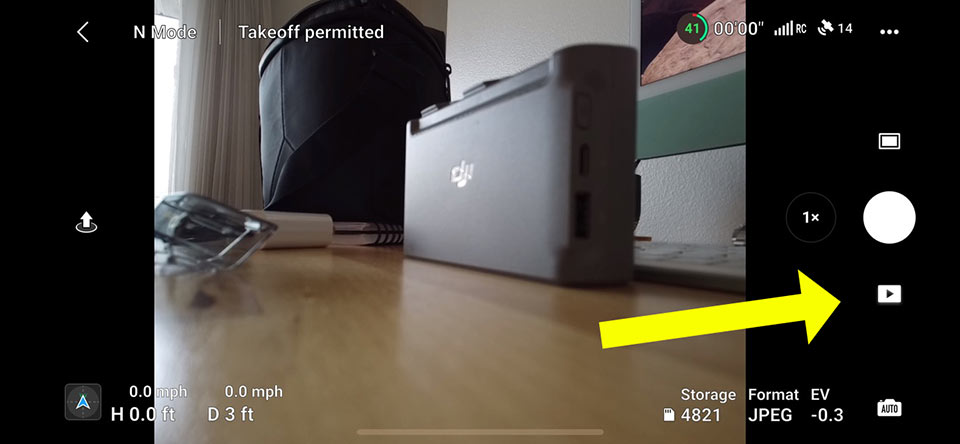
Choose the image you want to stitch. Even though the image hasn't been stitched yet, the album shows the individual shots of a spherical panorama grouped as a single entry. Clicking it is all it takes to initiate the stitching.
Presto! The 360 panoramic photo is now stitched complete with filled in sky.
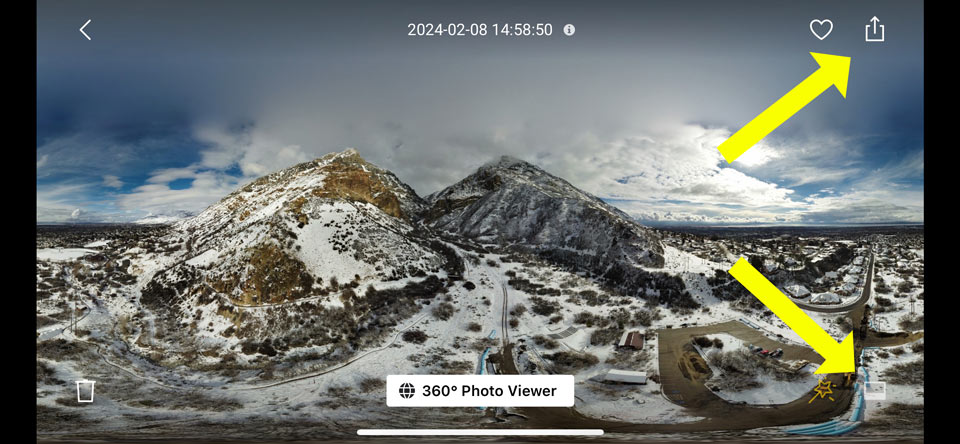
Review the panorama within the app, and if you're happy with the outcome, save it to your device or share it.
- Editing and Integration: Transfer the panorama to your computer for any final edits then upload it into your Kuula virtual tour!
Below is the final photo without any post-processing. While we could improve this photo using my favorite post processing software, Topaz Labs Photo AI and Gigapixel, I wanted to show that the resolution of the in-app stitched photo isn't as good as what we could achieve if we stitched it ourselves with 3rd party software. Stay tuned for that in a future article.
Adding 360 drone photography opens new dimensions in storytelling within your virtual tours, offering viewers an unmatched perspective and engaging experience. While starting might seem daunting, the results are incredibly rewarding.
Happy flying!
