How to Compress Your Images for Smoother Uploading to Kuula

If you've ever run into issues attempting to upload very large file sizes to Kuula, this article will address why upload issues can sometimes arise and offer a solution.
Kuula is the most efficient virtual tour platform on the market. Image loading and transitions are quick and seamless. This is achieved through remarkable image compression.
If you've spent time with other 360 platforms then you're familiar with the trade-offs they impose between image quality vs. performance. With Kuula however, even your 8K panoramas race like Max Verstappen!
Kuula offers a few options for tailoring the performance of your tours.
This article on Image Specs explains how to set the Compression Settings for your image uploads. While this one explains the Export Editor and how to adjust performance optimization of your completed tour.
Problem with very large files
Because Kuula's compression is so robust, you're not limited in the size of images you can upload. Your computer and browser however, can run into memory limitations when uploading single file sizes that are very large.
In case of older machines, with less RAM at their disposal, even a 50MB image can create problems: the upload will fail or the uploaded image will be pitch black. Newer machines can handle much more, but even then it's good to keep the file under some resonable size.
If you are using image upscaling to improve the resolution of you images, for example Topaz Labs Gigapixel AI, you can easily end up with 50+ MB images. Or, if your stitched panoramas are composed of multiple high resolution shots from a drone or DSLR camera, this can also push your files to gargantuan sizes.
The solution is simple: compress your images prior to upload.
Traditional options for image compression, such as those built into most photo editing software, usually have poor results. They basically undo the image improvement you've achieved by upscaling in the first place.
I've discovered two incredible resources that can shrink your largest photos to bite-sized morsels without reducing quality!
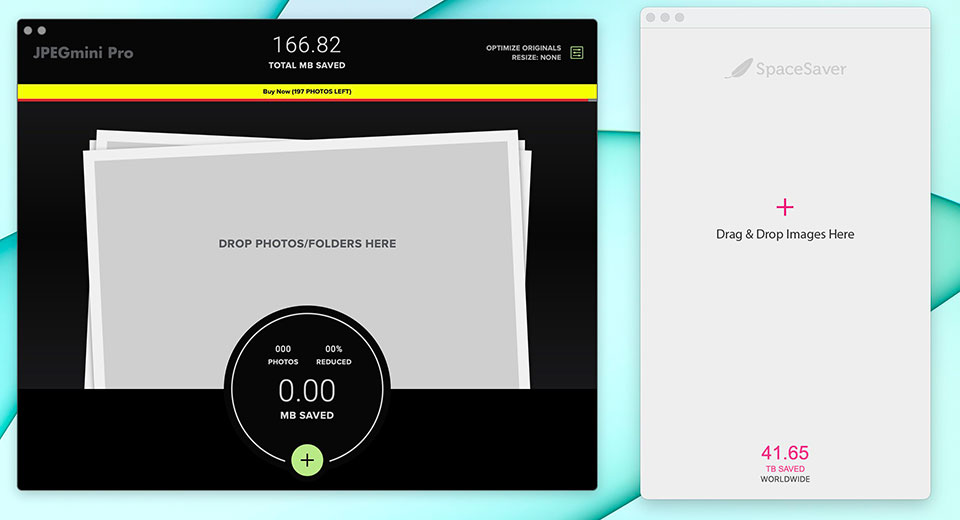
JPEGmini Pro and SpaceSaver are JPEG image compressors that have achieved unreal levels of compression without sacrificing image quality. These solutions allow you to shoot, process and upscale your photos as good-looking as you can make them, then compress to a size that makes them light as a feather.

Both function similarly. They have a simple drag and drop interface. You can choose to have your images replaced by compressed ones, or set an export folder for compressed copies. You can also choose custom resolutions for export. There are a few differences to consider when choosing between the two solutions.
JPEGmini Pro
JPEGmini Pro has two tiers. The standalone Pro App is $59, or for $89 the Pro Suite includes Lightroom, Photoshop, and Capture One plug-ins which can speed up your workflow. This price includes 1 year of updates. JPEGmini also includes the ability to simultaneously convert and compress Apple's HEIC photos to JPEGs.
SpaceSaver
SpaceSaver is $49 and only comes as a standalone app. Updates are included in this one time purchase.
Both achieve stunning results. SpaceSaver accomplishes more compression than JPEGmini, but does so at the cost of a tiny bit of noise. That said, I really had to put on my picky pants and zoom in close to be able to see any difference at all between either compression and the original. (The images below are pulled from the 360 drone panorama above.)

JPEGmini compressed my images to 32-56% of their original size while SpaceSaver shrunk them down to a tiny 8-20%.
Which of these solutions is right for you? Experiment for yourself and decide. Both offer generous free trials that let you shrink hundreds of images.
If you're like me, and insist on uncompromising quality and speed, you might find one of these image compressors to be a valuable tool in your arsenal.
