Tips for building better Virtual Tours - Advanced techniques
Kuula gives users incredible control over the appearance and function of Hotspots. Here are 6 hotspot techniques to take your tours to the next level.
Tip 1. More hotspot icons
Kuula has tons of great hotspot icons built in, but you also have the option to upload your own. An awesome resource for more hotspot icons is Flaticon. They have a massive collection of icons--many of which are free to use as long as you attribute the artist and website in your tour. (I do this in the Info tab.) These icons already have transparent backgrounds so they're ready to be uploaded directly to Kuula.
Tip 2. Inverting image colors
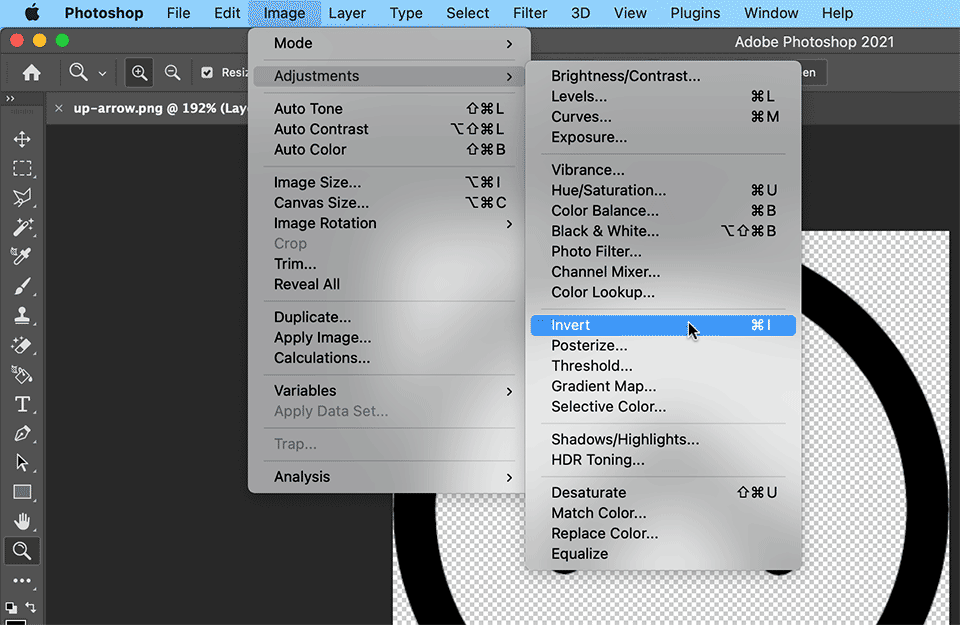
I should have said the icons are almost ready to upload to Kuula. When hunting for new icons, most of what you'll find are black, but I find white typically looks best for tours. Here are a couple resources to easily invert the colors of an image, turning your black icons white or vice versa. If you have Photoshop this is done easily under Image > Adjustments > Invert.
If you don't have Photoshop, LunaPic and PineTools are simple and free online resources for photo editing, including inverting your icon colors.
Tip 3. Shadows
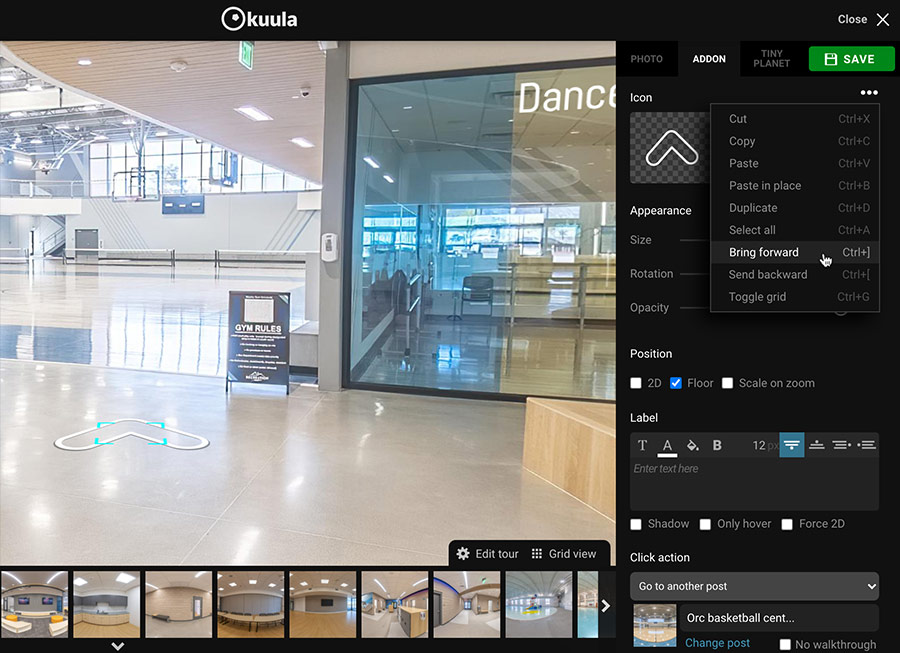
As much as possible, I prefer to use a consistent color for the icons across my tour--usually white. Sometimes I need to place a hotspot over a bright area that makes it difficult to see. Rather than use black icons, I like to create shadows under the icons. First, you'll need a black version of your white icon. After placing the white hotspot, place a second black hotspot just below it. I use about 30% opacity and make the size 2% larger than the white icon. Kuula makes it easy to adjust the order hotspots are layered on your tour. Bring a hotspot forward or backward in the layer order using the Addon drop-down menu or the shortcut.
Tip 4. Circles vs. Arrows
When I show people my virtual tours, sometimes I'm surprised by things that seem intuitive to me but confuse virtual tour newcomers. I've found that the following hotspot pattern is easiest for most people to understand: I recommend using circles as hotspots icons when the hotspot location represents the place the visitor will end up, and arrows when clicking will take the visitor beyond the hotspot location.
Tip 5. Turn off Walkthrough on certain images
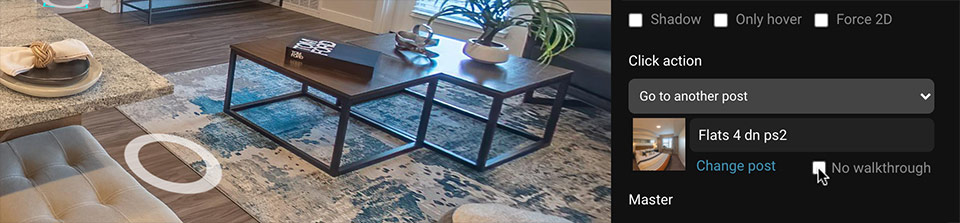
One of easiest ways to frustrate your virtual tour visitors is not maintaining a consistent direction of view when moving between images. Walkthrough Mode and Backlinks are incredibly powerful tours for creating clean, intuitive tours that automatically keep perspective lined up correctly. Sometimes you may need more precise control over the visitors perspective for a particular hotspot. Kuula lets you turn off Walkthrough Mode on an individual hotspot. Then the view will default to the Heading you have set up.
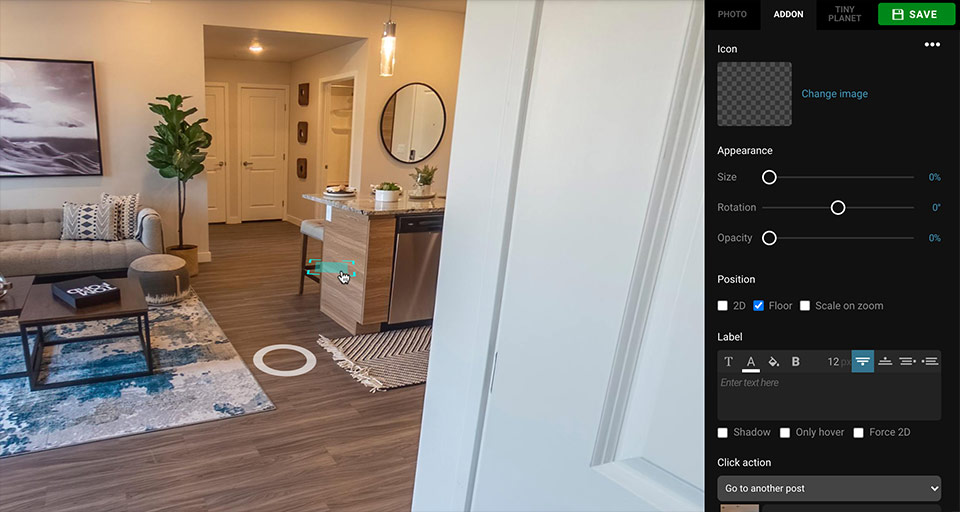
Tip 6. Invisible Hotspots
In certain situations, you might want the automatic image alignment of Walkthrough Mode without having to include a hotspot in one of the two images. This can be done simply by turning the opacity and size to 0%.
We are truly inspired by the creativity we see in the virtual tours of our users. Hopefully these tips have inspired you to take more advantage of the powerful tools Kuula has to offer!