Synchronize 360 photos to create before & after comparisons
This article shows how to synchronize movement of two panoramic images with Kuula. This technique can be used to create "before & after" comparisions.
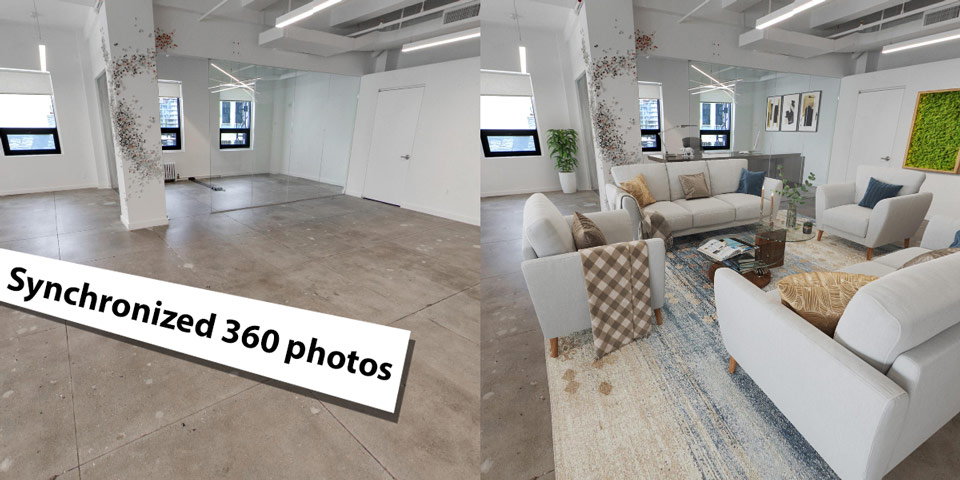
Before & after comparisions are a great way to present panoramic photos for a number of different scenarion. For example, you can show work progress of a construction site comparing the same view on two different dates. You can use this to show a property before and after a renovation process or present an interior design project against an existing space.
Thanks to Kuula embedded player and the API, creating a presentation like this is simple and requires a couple of lines of code!
In this guide, we are going to create a set of two embedded players that are connected in a way that their movement is synchronized. Here's a live example, try to pan one of the panoramas below to see how thy move in synch:
Here's a step by step instruction on how you can do this with your own 360 photos. We start assuming that you uploaded both panoramic images to your Kuula profile. Once this is done, follow these steps:
Step 1. Get the embed codes
FIrst of all, you will need to get an embed code for each of the two photos. In order to do this, go to each photo page, click on Share, select Get link or embed code in the popup and copy the HTML Embed code. (JS embeds are not supported at this time.)
This process is described in detail in the sharing and embedding guide.
Step 2. Add both embeds to your page
Next, paste both embed codes into the body of your web page. You can use CSS styles to arrange the players however you prefer: stacked one below the other or side by side.
Step 3. Add the API script
The Player API script is a small piece of Javascript that you need to include on your page. We suggest to add it in the <head> section of your document by placing the following line:
<script src="https://static.kuula.io/api.js"></script>
For more information about the API, please check our official guide.
Step 4. Connect the players
Finally, you'll need to add the code containing the API function call that connects the players. The best place to add this piece of script is at the end of the document, just before the closing </body> tag:
<script>
KuulaPlayerAPI.synchronizePlayers(true);
</script>
That's it! You can now test your page. When both Kuula players load, they will automatically synchornize and moving around one will also move the other.
Live demo
We prepared a live demo that you can use as base for your projects. The source code of this demo contains all the necessary elements. We also added some comments that will hopefully make it easier to adapt and implement it on your website.