Creating custom hotspot icons, grids and spacing in Kuula virtual tours

Kuula includes ready-made assets to help you build virtual tours. But what if the included options aren't quite what you need? Whether you just feel like being a bit more creative, or have brand guidelines to follow, Kuula has you covered with the option to upload custom assets: custom hotspot icons and images.
Creating custom assets
Kuula supports several file formats, the two most commonly used options being JPEG and PNG. JPEGs are a good choice for keeping file sizes small when your content is photo based, while PNGs are good at maintaining sharpness and solid blocks of colour on graphic based content such as icons.
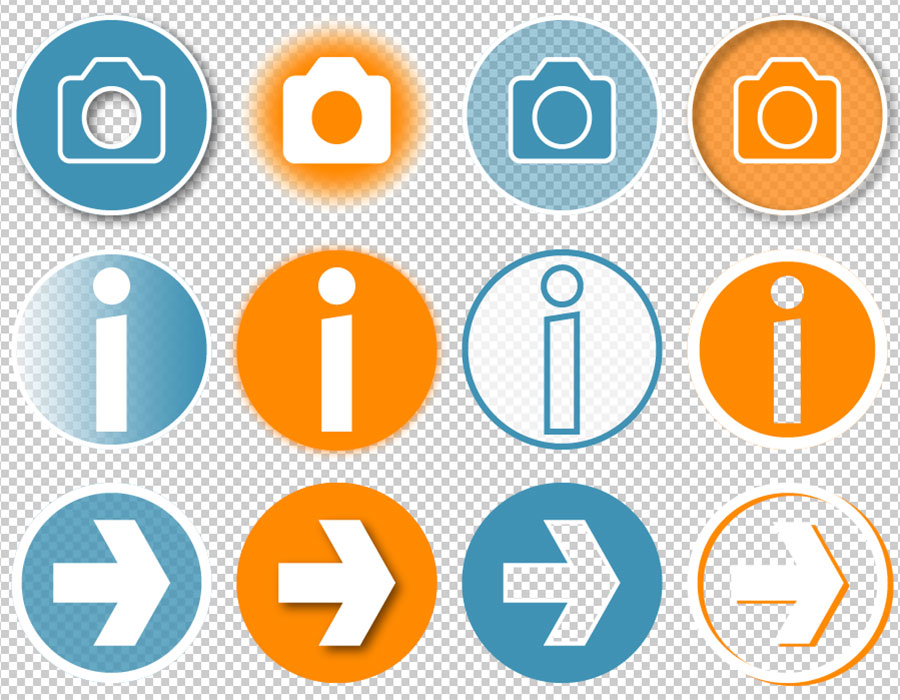
However PNG is the better choice for creating custom assets because it supports transparency. This enables a lot of creative opportunities. For example, with transparent backgrounds your images and hotspots aren't restricted to squares or rectangles. You can also use varying amounts of transparency in your designs and negative space, as well as use soft shadows or glows to help them stand out from the background.
From simple flat designs to colourful cartoon style ones, or real objects such as sticky notes and photo frames, to cutouts of people or animals, the only limit is your imagination.
TIP: Remember your assets will need to stand out against both dark and light backgrounds, so consider designing alternate versions to cover all situations.

You can use any design software that is able to export images as PNG files. Examples include Adobe Photoshop, Illustrator and Indesign, or Affinity Photo, Designer and Publisher from Serif Software. As long as your software supports custom document sizes and transparency, it should do the job.
If your software supports them, create vector images then export as PNG. As well as greater flexibility in resizing your assets (vector images don't pixelate when enlarged), this will also make it much easier to create variations of your designs or change them at a later date. Alternatively, create your assets at a larger size than you require. They can be scaled down without losing quality, but enlarging an asset can introduce fuzziness or pixelation.
Although the maximum supported dimensions on Kuula for images and hotspots is 5000 pixels wide by 5000 pixels tall, keep in mind that the maximimum dimensions for the whole 360 degree panorama you are placing assets in to is 16384 pixels wide by 8192 tall and only a portion of that is ever visible on screen at a time.
A size between 500 to 1000 pixels should suffice, using excessively large assets will only cause slower loading times and increase data usage for people viewing your virtual tours and even cause lag on older or slower devices.
TIP: You don't have to create everything from scratch of course. Whether you just need some inspiration or are short on time, stock image websites offer a massive selection of ready-made assets to choose from. Examples include Adobe Stock, iStock, Shutterstock, Icomoon and Flaticon.
Avoiding skewed assets
As the centre point of an image or hotspot moves further above or below the horizon, it will appear to lean forwards or away respectively, as it is mapped to the 360 degree panorama. This is especially noticeable on tall assets.
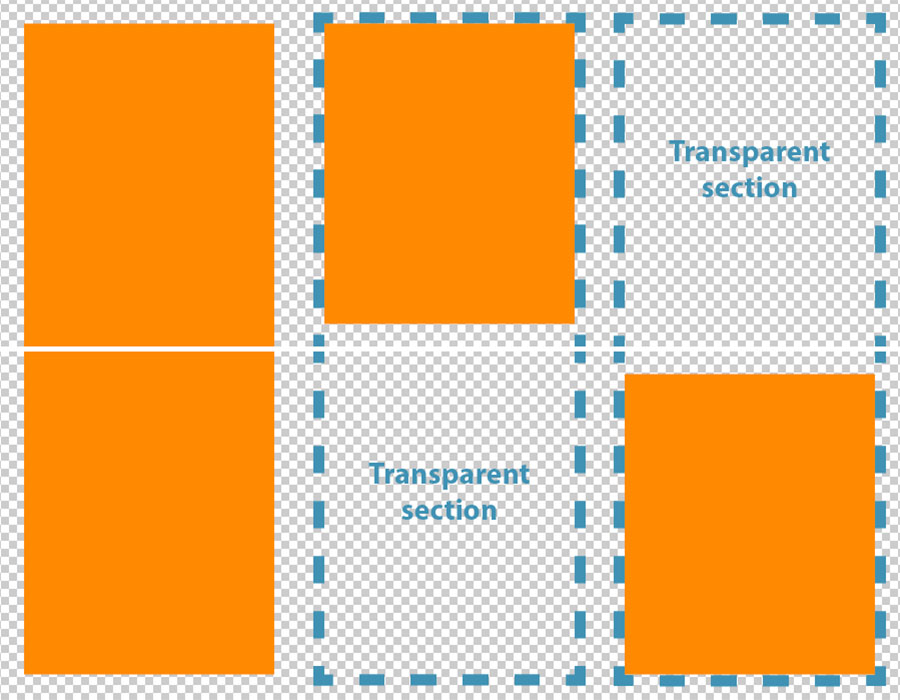
This isn't always desirable, such as when trying to place items on to a wall for example. To avoid this simply include a transparent section above or below the main part of the image when creating the asset. This will offset the centre point of the image, keeping it nearer to the horizon. It may take a little trial and error to find the right amount of blank space to add to the asset.

Grids and Spacing
It can be time-consuming to align multiple hotspots and images with equal spacing or in a grid. A simple solution is to combine several assets into a single PNG file with transparent gaps between them. This allows you to quickly place rows of buttons or columns of text labels for example.

Simply add your combined asset as a single image, then position hotspots with 0% opacity on top to create clickable areas. This method could be used with a site map or floor plan, or to create a menu system, both useful additions for navigating larger virtual tours.
You can see a live demonstration of the tips outline above in this tour:
For more information on how to upload custom assets to a virtual tour, please refer to the following tutorials:
