How to create 360 illustrations in 3 easy steps - 360 drawing workflow

JL Mast is an artist and illustrator from Lille, France. He works with MARVEL on titles including Daredevil / Punisher Infinite, A Year of Marvel: Amazing Spider-Man, Guardians of the Galaxy & Avengers Millennium. He loves 360 drawing and as part of the Inktober initiative, he decided to draw a new image everyday this month. In this article, he shares his 360 drawing workflow and techniques.
This is a guest post written by JL Mast. You can follow him on Kuula , Facebook, Twitter and Instagram.
Hey there! I'm JL mast, I'm a french artist and most of my young carreer have consisted in working during the last five years for marvel comics (doing layouts for digital comics like Guardians of the Galaxy: Awesome mix; Daredevil/Punisher: Seventh Circle; Ultimate Spider-man Infinite...) and more recently Disney.
Using the new digital tools (animated gifs, turbomedia, infinite canvas and 360 pics), I try to tell compelling stories, doing my best to keep a clear and smooth storytelling.
For about a year, I've been working on doing 360 illustrations - but due to NDA with the companies that hired me, couldn't show anything, which of course was FRUSTRATIIIIING. So, during Inktober 2017 -- an event where artists have to publish online ONE drawing per day -- I'm doing just that: one virtual reality drawing a day, so I can show how much fun I'm having to the whole world.
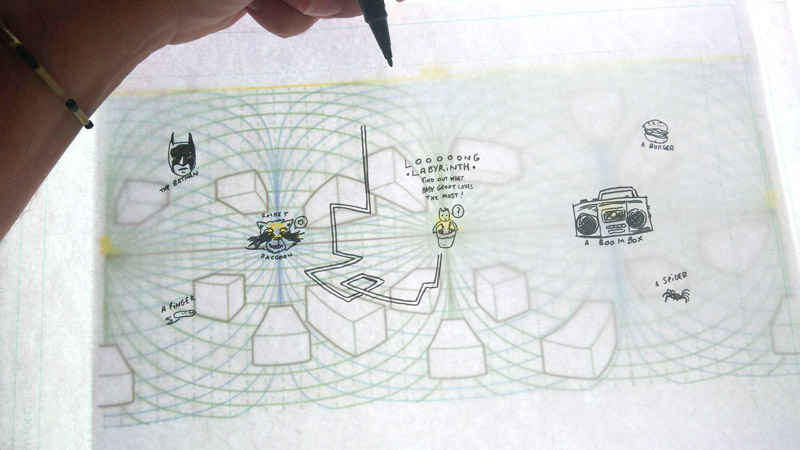
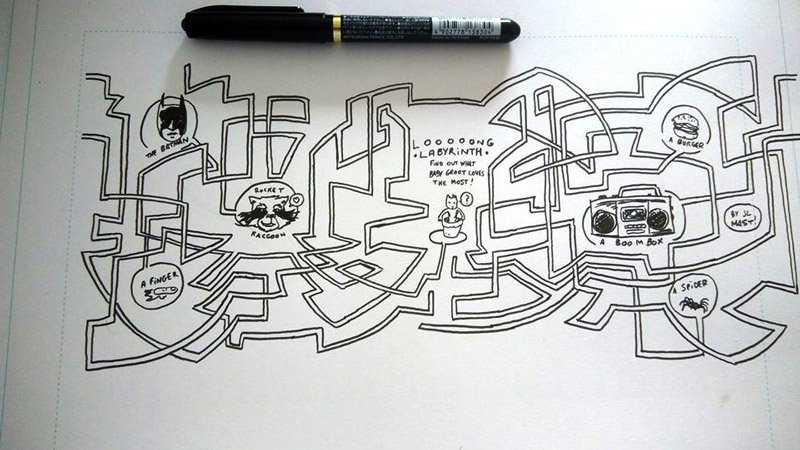
On Day 5, the theme, "Long", inspired me to do a looooong labyrinth in 360.
When doing work professionnaly, I mostly draw digitally. But when doing commissions on comicbook conventions, I like to go back to pen, paper and watercolors. That's why, whenever I can, I do my 360 illustrations on 100% real paper.
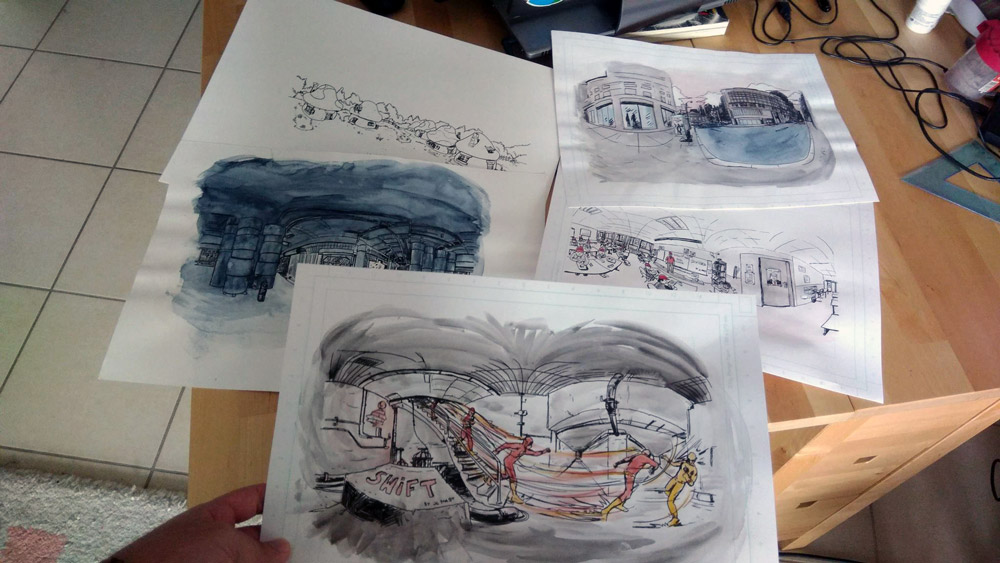
Here are the THREE steps I take to do it on paper:
1. The 6 points perspective grid
A 360 picture can be shown in several ways (tiny planet, 3D cube...) but I found the best way for me to work is using an equirectangular image, on which you apply a 6 points perspective grid.
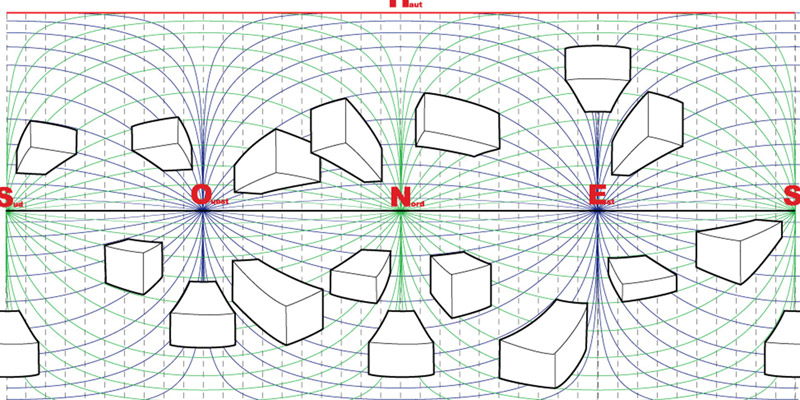
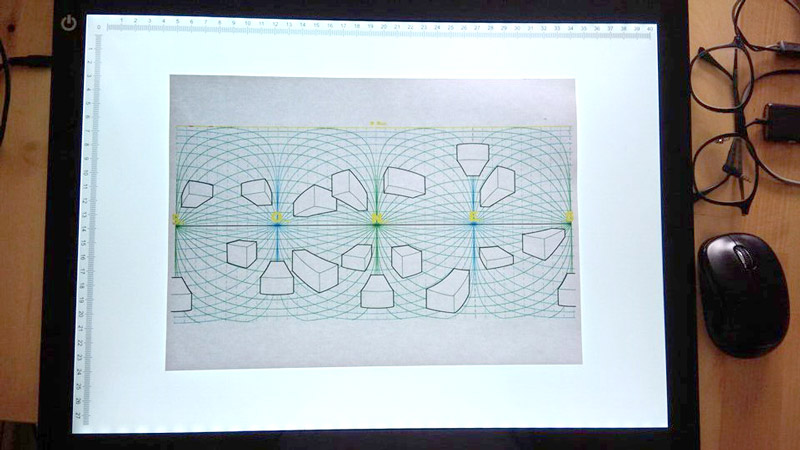
You have many 6pts grids available online, I've been using a template done by Jeremy Mariez but you can use any. I printed it and put in on my lightbox, then on top of it, I add the paper on which I'll draw.
2. Drawing
On today's illustration, I don't have to anticipate anamorphosis much. If you want to play it easy, you can keep your characters on the horizon/center line of the grid, and they won't be too much distorded. The goal today is to do a 360-labyrinth game, where you have to follow the way to find out what Baby Groot (from Marvel's Guardians of the Galaxy) loves the most. Is it Batman? A boombox? Rocket Raccoon? A severed bleeding finger? I use the perspective lines to do the labyrinth lines: easy peasy.
If you want to have fun, though, you try to deform your characters. Here's how my Aquaman 360 picture looks like in its equirectangular form:
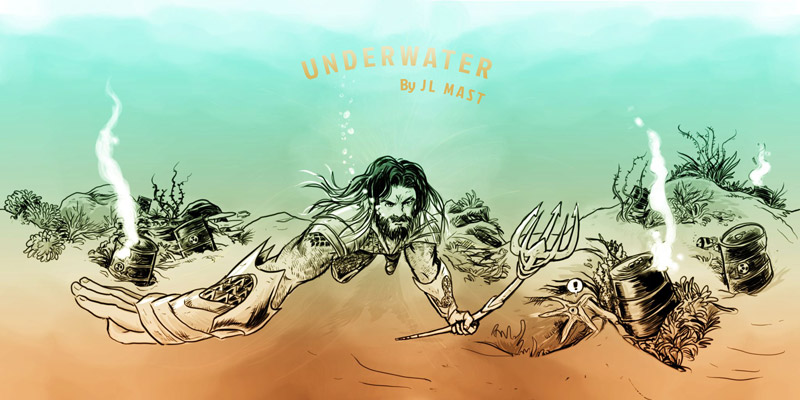
Notice the distorded right arm of Aquaman. Spent a lot of time to make it look right (and even now I'm not satisfied, but since it's free work, I can only afford to spend one or two hours on these drawings).
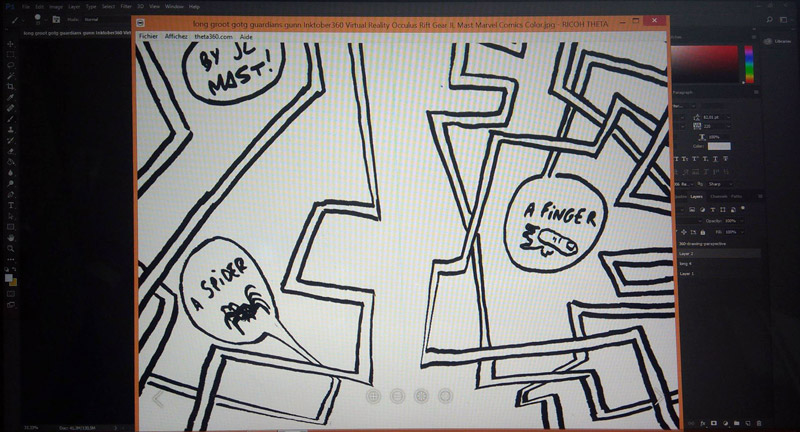
To check it the 360-drawing works, I scan it from time to time and use the Ricoh Theta S software to see if the illustration looks good.
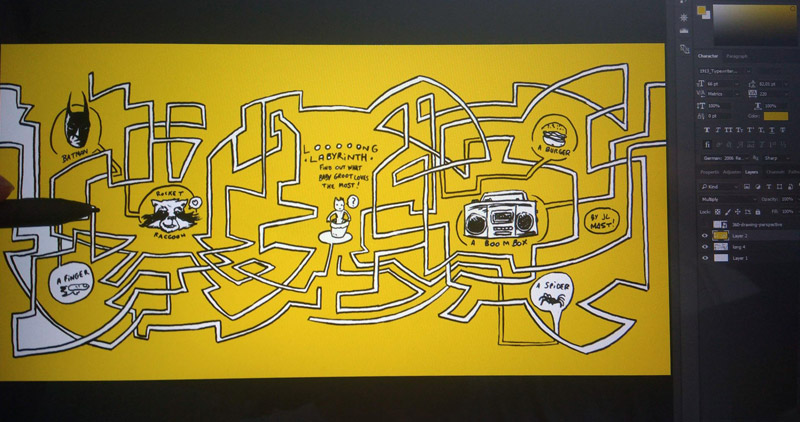
3. Fix the drawing in Photoshop
The drawing is finished, I scan it, and clean it on Adobe CC Photoshop 2017. I have to fix any lines that may be too big or too thin. I constantly check by dragging and dropping my jpeg file into the Theta S software to see if it's working.
I add the color on Photoshop or TVPaint (depending on the mood, 😊).
And there you go, the final drawing, in it's equirectangular form:
I instantly upload in on Kuula and - voilà:
You can follow JLMast on Kuula to see all his other #inktober posts. Thanks!