How to Embed a Virtual Tour Into Your Wix Site in 3 Easy Steps
Whether for yourself, or for helping a client, it's important to know how to embed your Kuula virtual tour within a website. This article will explain how to add a virtual tour to a Wix site.
First you need the HTML embed code for your tour. Check out this guide for generating links and embed codes to share your Kuula tours and 360 images.
Wix actually offers two different website editors. The first is Wix ADI (Aritifical Design Inteligence) -- a web app that functions somewhat similar to Squarespace meaning your site is built by adding or removing different Sections. Sections are pre-made groupings of site Elements.
The other is classic Wix Website Editor which is more complex but provides more freedom to customize. We'll review the instructions for embedding you virtual tour using both editors, starting with ADI.
Wix ADI
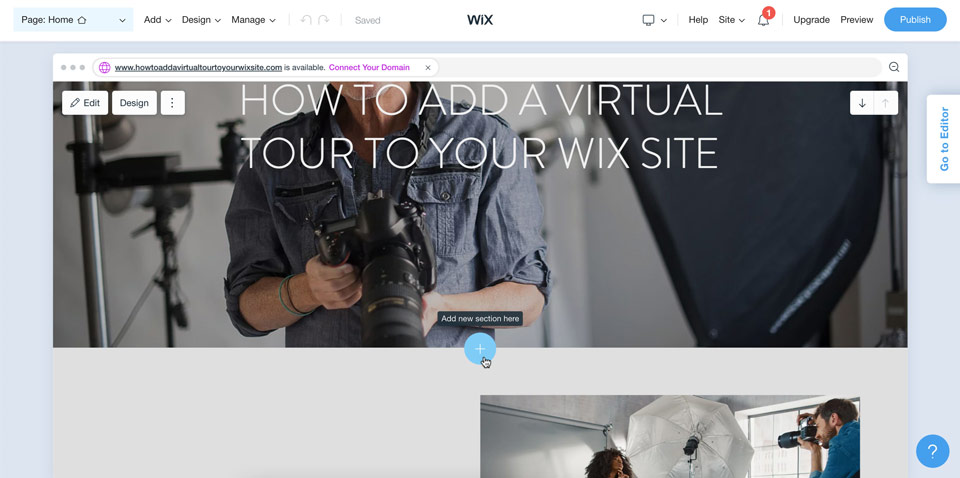
Step 1
Pick the location in your site you'd like to add your tour and click the "+" to "Add new section here".
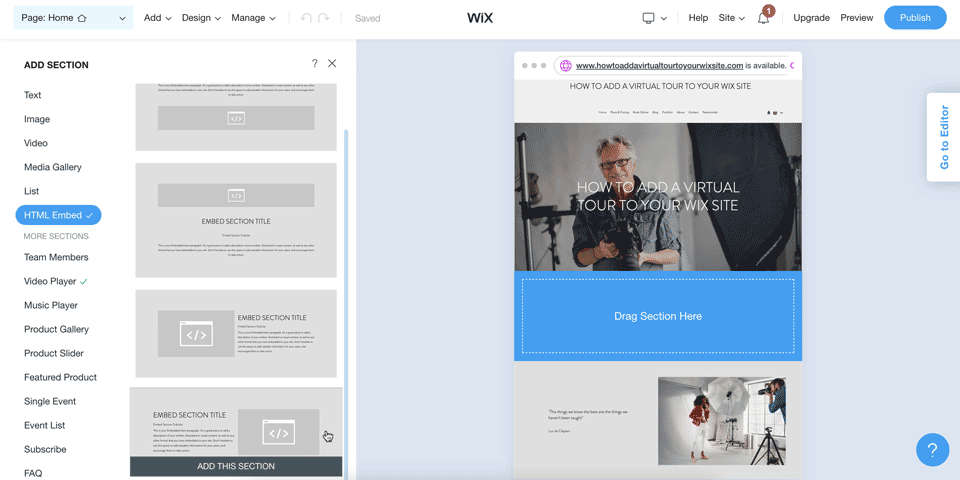
Step 2
From the menu on the left click "HTML Embed". Now pick one of the four options depending on where you'd like text relative to your tour. Later you can choose to remove the text if you want.
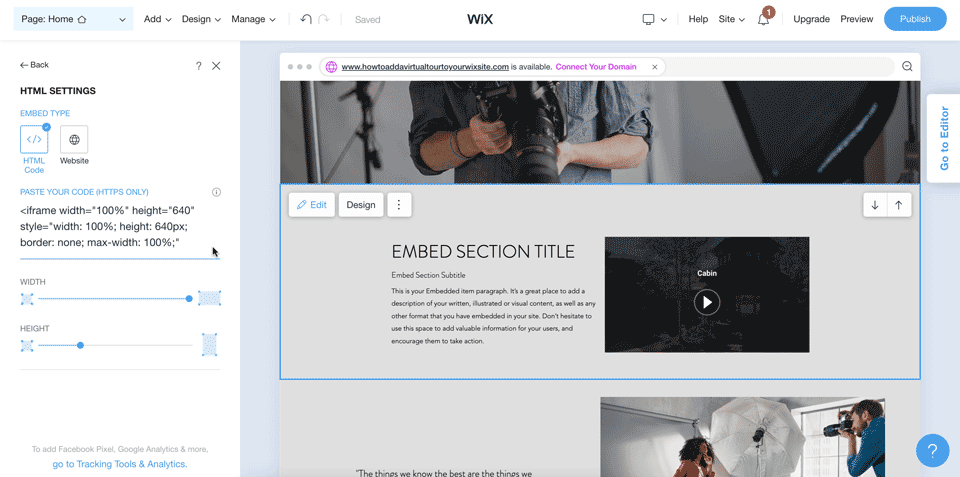
Step 3
Click on the new, empty HTML block and a "Settings" tab will open on the left. Paste your Kuula tour HTML code on the line "PASTE YOUR CODE". You can use the sliders to adjust height and width.
Wix Website Editor
Step 1
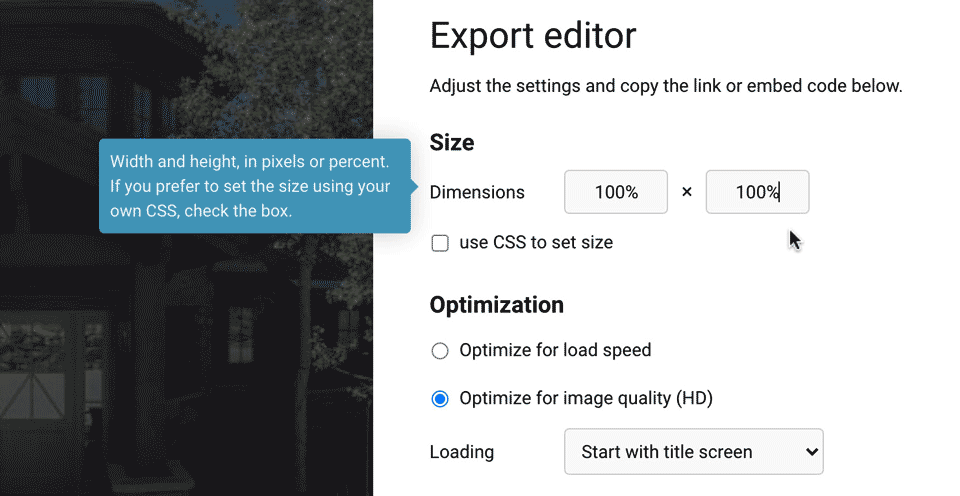
Generate your HTML embed code and adjust the dimensions. For the Wix Website Editor it will work best if you set both the height and width to 100%. This will make sense later.
Step 2
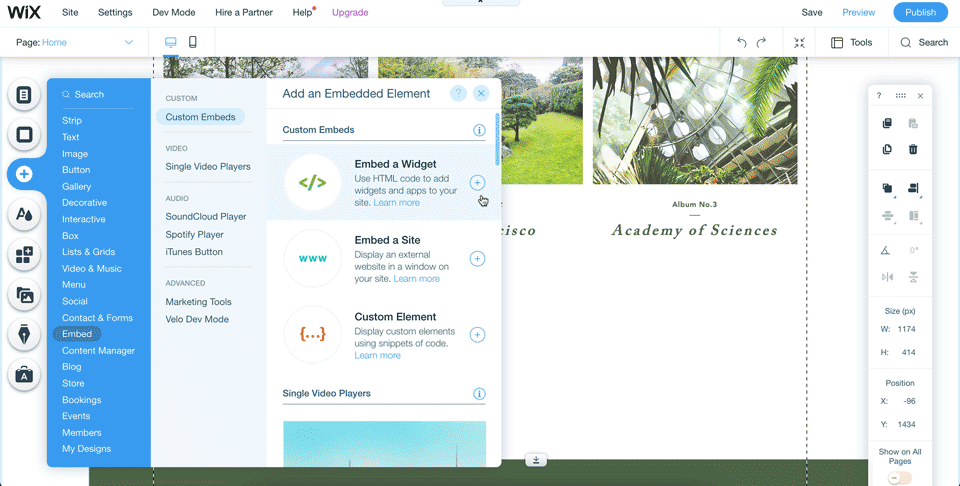
Pick an area of the site to add the virtual tour and click Add > Embed > Embed a Widget.
Step 3
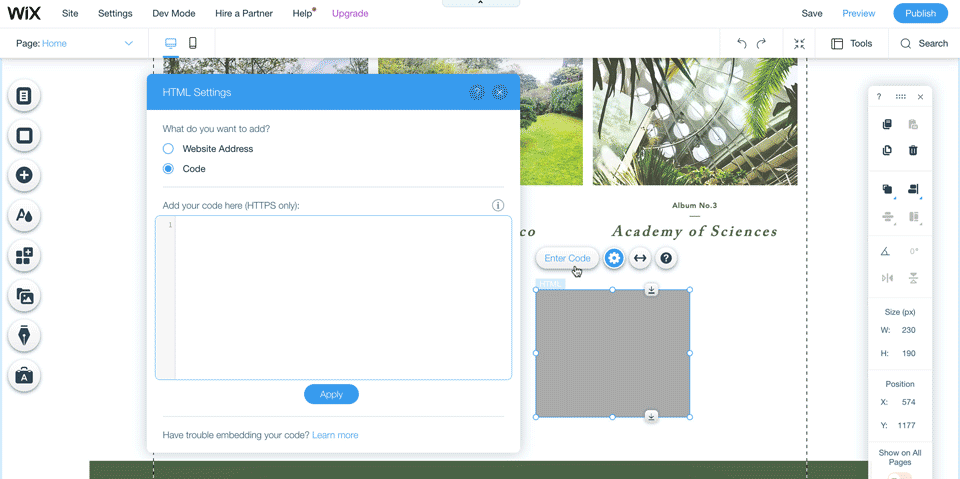
A new Embed Box will appear on your site. Click "Enter Code" then paste your Kuula HTML embed code into the dialogue box. Then click "Update".
Step 4
Now you can drag your tour anywhere you like on the site. You can also pull the corners to resize it, and since we set height and width to 100% the tour will adjust to accommodate any size you choose.

Step 5
Important--make sure you double check your site's appearance in both desktop and mobile view and edit in mobile view as necessary. With the standard Wix Website Editor, you have more control over your website's appearance, but also more responsibility to ensure things look right.
Final Tip
When sharing your tours I recommend setting "Loading" to "Start with title screen." Compared to having the tour autoload, this will improve site performance and you won't shock anyone if you happen to have music on your tour. You'll even boost search engine optimization with a faster loading site.